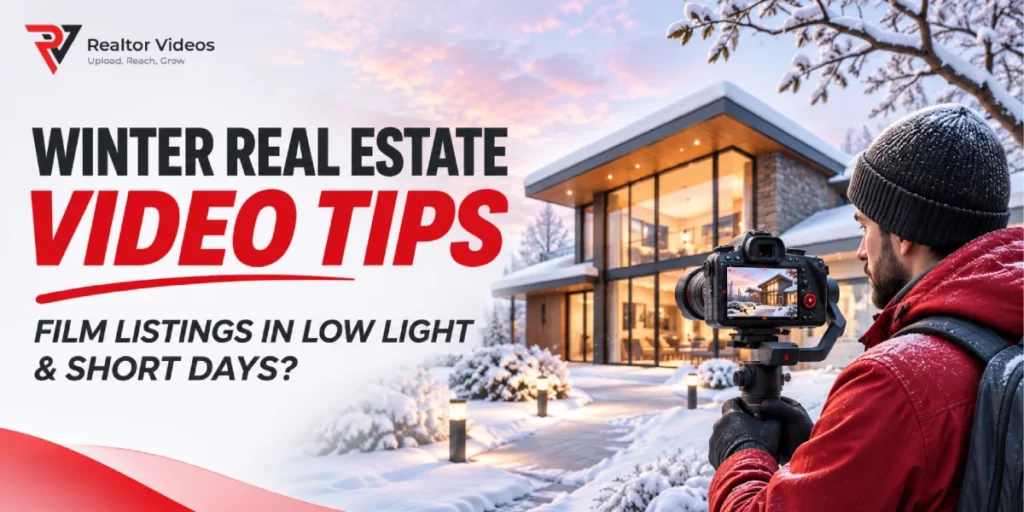
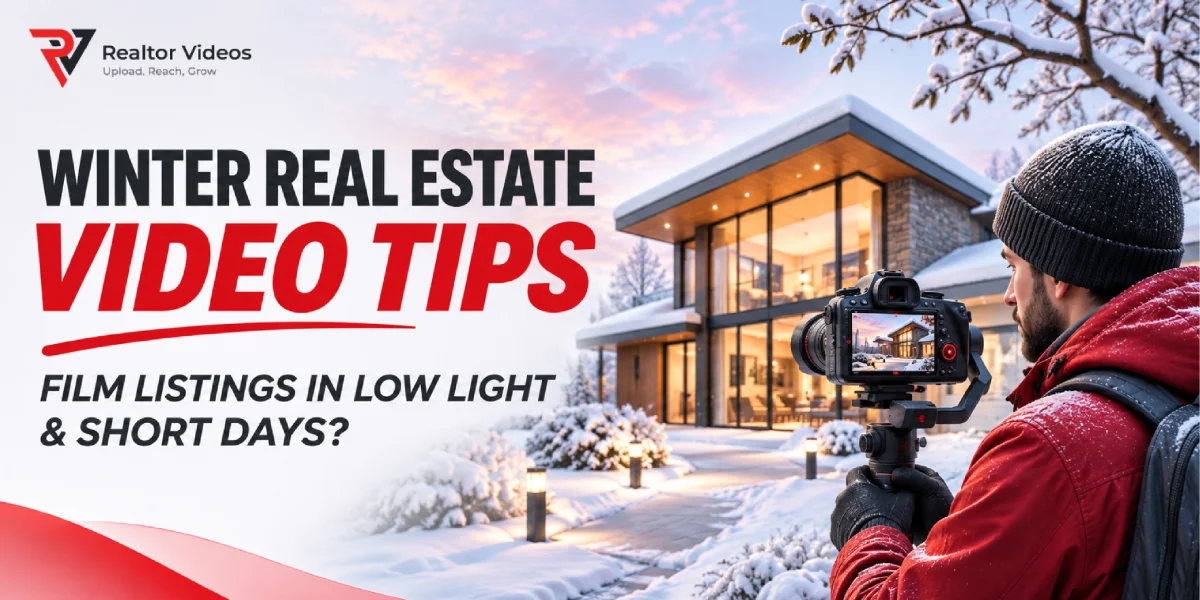
Winter can make real estate videography more challenging than you might expect. Shorter daylight hours, overcast skies, and darker interiors leave agents and videographers with less time to capture bright, appealing footage. Even an attractive home can look flat, cold, or poorly lit when filmed without preparation.
Indoor lighting adds challenges. Natural window light may be limited, while ceiling fixtures and lamps introduce different color temperatures. Moving between bright windows and darker rooms can also produce uneven exposure, making a property video feel inconsistent.
Fortunately, professional-looking winter listing videos don’t require perfect sunshine or expensive equipment. Thoughtful scheduling, practical real estate video lighting techniques, stable camera movement, and careful editing can showcase a property’s best features while staying true to reality.
These winter real estate video tips explain how to plan your shoot, manage low light, choose camera settings, and prepare a polished video for online listings.
Plan Your Winter Property Shoot Around Available Daylight
When daylight is limited, an organized schedule is essential. Instead of arriving and deciding what to film first, create a shot list based on available light and the home’s layout.
Schedule Your Most Important Shots First
- Check sunrise and sunset times: use local daylight information to estimate your filming window.
- Monitor the weather forecast: cloud cover, rain, and snow affect exterior visibility and indoor brightness.
- Identify rooms with the best natural light: prioritize large living spaces, kitchens, and rooms with prominent windows when their lighting is most favorable.
- Schedule exterior footage deliberately: allow time for the front elevation, entrance, driveway, backyard, and other exterior features.
- Build in extra time: winter lighting can change quickly, particularly in late afternoon.
For example, if sunset is at 4:45 p.m., finishing essential daylight footage by about 4:00 p.m. provides a useful buffer. The exact schedule depends on weather, surrounding buildings, and the property’s orientation.
Practical tip: ask the homeowner or listing agent to prepare the property before filming. Open blinds, turn on appropriate lights, and remove temporary clutter to avoid wasting valuable daylight.
Make the Most of Overcast Skies
Cloudy weather isn’t always a disadvantage. Overcast skies act as a large natural diffuser, creating softer light and reducing harsh shadows, which helps with large windows, reflective surfaces, and light-colored exteriors.
How to Film Homes on Cloudy Days
- Position your camera to capture architectural details without excessive sky dominating the frame.
- Include landscaping, walkways, and exterior textures for visual interest.
- Adjust exposure so the building remains visible without losing important highlights.
- Maintain natural colors instead of dramatically increasing saturation.
- Use steady, intentional camera movement to create depth and dimension.
A cloudy sky may look bright on camera while the building looks relatively dark. If your camera allows separate exposure control, prioritize a balanced view of the property rather than a perfectly bright sky.
Avoid replacing gray skies with unrealistic blue ones or making a winter exterior look like summer. Accurate visuals help buyers form appropriate expectations.
Improve Indoor Lighting Without Making Rooms Look Artificial
Indoor lighting is one of the biggest challenges when filming real estate in low light. Winter daylight through windows can be noticeably cooler than artificial lighting, and mixing it with warm lamps and different ceiling fixtures may create blue, yellow, or green color casts.
The goal is not to make every room exceptionally bright, but to create balanced, comfortable lighting that shows the property’s actual appearance.
Use Available Light Strategically
Open curtains and blinds where appropriate, and position your camera so natural light illuminates the room without excessive glare. Then evaluate the fixtures:
- Turn on lamps or ceiling lights when they genuinely improve visibility.
- Avoid mixing several noticeably different bulb colors when possible.
- Use a small, diffused LED light if additional illumination is needed.
- Avoid pointing harsh light directly at reflective countertops, mirrors, or glossy flooring.
Balance Windows and Interior Exposure
Bright windows can blow out to white when the camera exposes for a dark room. Try adjusting your camera angle, adding gentle fill light, or using manual exposure controls where available. Some cameras and smartphones offer HDR video modes that can preserve detail in bright and dark areas, though results vary by device and scene.
Practical tip: review a short test clip before filming the whole room. Check whether the windows retain useful detail and whether the interior looks natural rather than excessively bright.
Use Camera Settings That Work in Low Light
Understanding basic real estate video exposure settings makes a significant difference. You don’t need a cinema camera; many smartphones and mirrorless cameras offer useful automatic or manual exposure features.
Choose a Suitable Frame Rate and Shutter Speed
For most walkthroughs, 24 or 30 frames per second (fps) gives smooth, natural-looking video. When manual settings are available, a common starting point is:
| Frame rate | Starting shutter speed |
|---|---|
| 24 fps | Approximately 1/50 second |
| 30 fps | Approximately 1/60 second |
| 60 fps | Approximately 1/125 second |
These are starting points, not universal rules. For low light, 24 or 30 fps generally allows a slower shutter speed than 60 fps, which helps preserve exposure. Very slow shutter speeds may add excessive motion blur, and some indoor lights may flicker at certain settings.
Manage ISO and Aperture
ISO controls the camera’s sensitivity or gain. Raising it brightens the image, but excessive ISO often introduces visible noise. Use the lowest practical ISO that maintains suitable exposure. If your camera has an adjustable aperture, opening it lets more light reach the sensor, but very wide apertures reduce depth of field, so make sure important architectural details stay in focus.
Keep Your Footage Stable
Stabilization matters even more in darker spaces. Use a tripod, gimbal, or the stabilization built into your camera or phone. Walk slowly, avoid sudden turns, and keep each shot controlled. On smartphones, avoid excessive digital zoom and test low-light video modes before relying on them. Not every phone provides full manual exposure controls.
Capture Warm, Inviting Interiors While Staying Realistic
A welcoming winter video should communicate comfort without exaggerating the home’s lighting, dimensions, or condition. Start with clean compositions that help viewers understand how spaces connect.
Focus on Consistency Between Rooms
Maintain reasonably consistent white balance and brightness throughout. Moving from a warm living room to a noticeably blue kitchen can make the video feel disjointed, even if each clip looks acceptable. When filming interiors:
- Use a consistent camera height for similar walkthrough shots.
- Capture wide views that establish each room’s layout.
- Include important features such as fireplaces, cabinetry, and architectural details.
- Move slowly through doorways to create natural transitions.
- Avoid extreme wide-angle distortion that makes rooms appear significantly larger than they are.
A fireplace, reading nook, or naturally lit dining area can add warmth when those features are genuinely part of the property.
Accuracy matters: don’t hide visible defects, use deceptive camera angles, or apply edits that materially change the home’s apparent condition.
Film Exterior Shots Before the Light Disappears
Exterior footage establishes the property’s identity and surroundings, but winter filming can be limited by early sunsets, heavy cloud, or changing weather.
Prioritize Essential Exterior Footage
Capture these shots while sufficient daylight remains:
- A clear, stable view of the front elevation.
- The main entrance and approach.
- Driveways, pathways, and parking areas.
- Gardens, patios, decks, or backyard spaces.
- Relevant neighborhood context and nearby surroundings.
If the property has distinctive architectural features, plan additional shots that highlight them clearly.
Work With Winter Conditions
When the sky is gray, avoid composing shots with large areas of empty sky. Use landscaping, architecture, and natural framing to strengthen the composition.
Snow-covered surroundings can look attractive, but bright snow may confuse automatic exposure. Check that the snow retains texture without making the home too dark. For twilight shots, make sure exterior lighting works and the camera stays stable. Never rely on heavy editing to disguise poor weather or misrepresent the property.
Edit Winter Property Videos for Consistency
Careful real estate video editing connects individual shots into a smooth, professional tour. Winter footage often has noticeable differences between interior and exterior brightness, so consistent editing is especially important.
Start With Basic Corrections
- Exposure correction: adjust clips so important details remain visible without eliminating natural shadows.
- White balance: correct unwanted color casts and keep rooms consistent.
- Contrast: add restrained contrast so overcast footage doesn’t look flat.
- Noise reduction: reduce distracting low-light grain without removing fine architectural detail.
- Stabilization: smooth minor camera movement without excessive cropping or distortion.
Avoid aggressive filters or extreme color grading that changes wall colors, flooring, or exterior materials.
Keep the Video Moving Naturally
Arrange footage in a logical sequence: exterior introduction, entrance, main living areas, kitchen, bedrooms, bathrooms, and outdoor spaces. Use straightforward cuts and controlled transitions. If adding music, choose appropriately licensed tracks that support the viewing experience without distracting from the property.
Consider pacing too: buyers should have enough time to understand each room without sitting through long or repetitive footage. For more, see the ideal length for a real estate listing video.
Choose the Right Video Format and Listing Page Experience
Once your video is edited, prepare it for reliable online playback. The right format and presentation depend on where it will appear: property websites, listing pages, and mobile devices.
Prepare a Compatible Video File
MP4 with H.264 encoding is a widely compatible starting point for web delivery. MOV and WebM are also common, though compatibility and platform requirements differ. See this guide to compatible property video formats. Before publishing, check the exported video’s sharpness, playback smoothness, audio, and file compatibility.
Consider Horizontal and Vertical Viewing
Horizontal video typically works well for walkthroughs and website listing pages because it shows architecture and layouts. Vertical video may suit certain mobile-first social presentations. Choosing between vertical vs. horizontal property videos should depend on the intended viewing experience, not simply social media trends.
Make the Video Easy to Watch
The video should be visible and accessible from the listing page. Place it near the main property information or photo gallery where appropriate, and test playback on desktop and mobile. Agents unfamiliar with the process can follow this guide to embedding videos on real estate listing pages.
Host and Share Your Winter Listing Videos Professionally
A polished video is only part of the process. How you host and present it also affects the viewer’s experience, and a professional listing video hosting solution helps display footage without unnecessary interruptions.
Choose Ad-Free Video Hosting
RealtorVideos provides ad-free hosting designed for real estate agents, brokerages, and property developers. Its real estate video hosting features include direct video links, iframe embedding, domain-level embed controls, privacy settings, and video analytics, so agents can present walkthroughs without unrelated third-party ads or distracting suggested videos.
Consider Your MLS Requirements
Some multiple listing services restrict video branding, advertising, linking, or virtual-tour presentation. RealtorVideos offers clean, unbranded sharing options designed to support common listing needs, but MLS rules vary by market and organization, so review your local requirements before submitting a video. For more, read the guide to MLS-friendly video hosting.
Select Appropriate Privacy Settings
Not every video needs identical access settings. A public video may suit a broadly marketed listing, while an unlisted or private video may be better for controlled sharing. RealtorVideos provides access options and domain-level embed controls to manage where and how supported videos are shared. Before publishing, confirm your settings allow the intended audience to watch.
Winter Real Estate Video Checklist
Use this before, during, and after your next winter shoot.
Before Filming
- Check local sunrise, sunset, and weather conditions.
- Create an indoor and outdoor shot list.
- Identify rooms with the strongest natural light.
- Prepare the property and check lighting fixtures.
- Clean camera lenses and charge batteries.
During Filming
- Capture essential exterior footage while daylight is available.
- Balance indoor lighting and natural window light.
- Check exposure and white balance.
- Use a tripod, gimbal, or suitable stabilization.
- Keep camera movement smooth and controlled.
- Review sample clips for blur, noise, and flicker.
After Filming
- Correct exposure and color inconsistencies.
- Apply restrained noise reduction and stabilization.
- Arrange footage in a clear property-tour sequence.
- Verify that edits accurately represent the home.
- Export a compatible video format.
- Test mobile and desktop playback.
- Choose appropriate hosting and privacy settings.
- Place the video on the relevant listing page.
- Confirm links and embeds work for intended viewers.
Final Thoughts
Winter doesn’t have to limit the quality of your property videos. Short daylight hours, cloudy skies, and darker interiors simply call for more thoughtful planning and attention to lighting.
The most effective winter real estate video tips are straightforward: schedule important shots around available daylight, use balanced indoor lighting, choose sensible camera settings, stabilize your footage, and edit consistently without changing how the property actually looks.
Once your video is ready, presentation matters too. Clean playback, easy listing-page embedding, and suitable privacy settings make the finished tour accessible to prospective buyers.
RealtorVideos provides ad-free real estate video hosting designed for property marketing. Explore RealtorVideos pricing and plans to find a hosting option that fits your listing video needs.